If you’re expanding culinary sage, possibilities are you wish to utilize it in the cooking area. To do so, you’ll need to gather it initially, however trimming pieces off a plant you have actually nurtured can be daunting. Below’s exactly how to gather sage consisting of a couple of helpful suggestions to assist you.
Choosing Culinary Sage
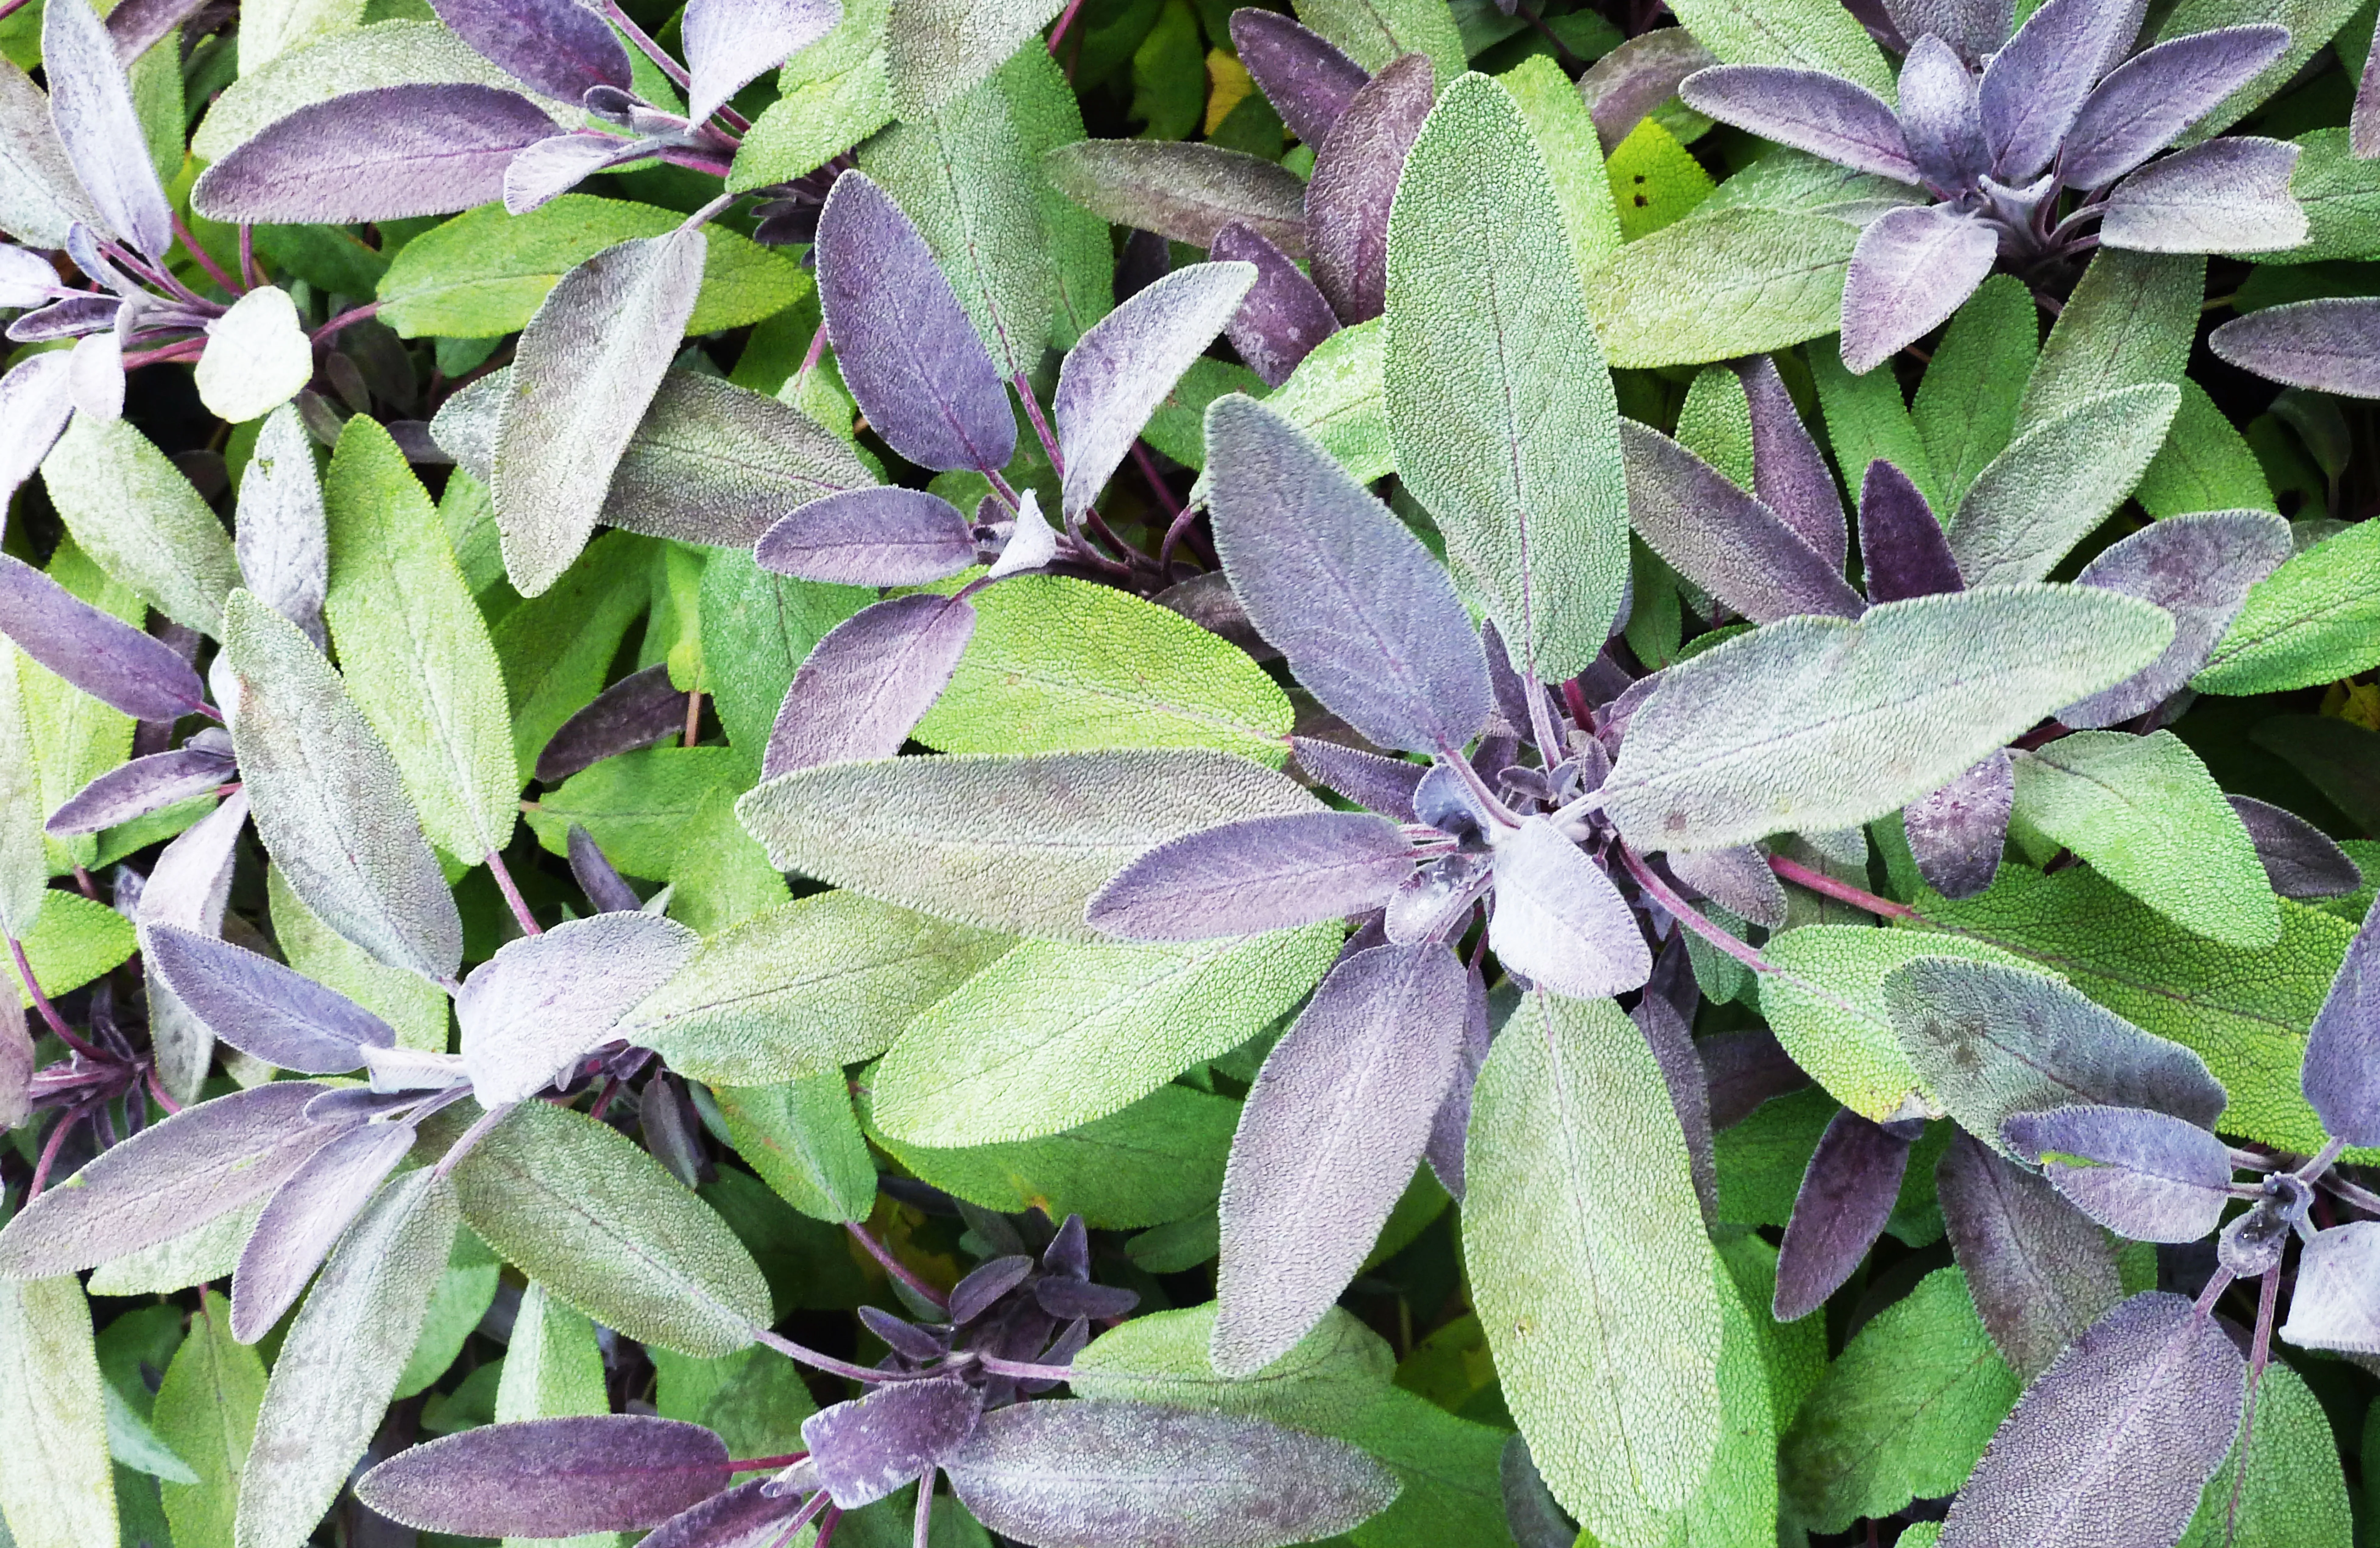
While many participants of the category Salvia are preferred in the garden, it’s normally the usual or yard sage (Salvia officinalis) and sometimes pineapple sage (Salvia elegans) that are used in the kitchen. Garden sage is a staple natural herb for lots of fall meals, such as roast turkey with citrus and sage, pumpkin-sage white cheddar biscuits, or pumpkin, barley, and sage soup.
Numerous sage plants, like Russian sage, are intended to be decorative. The collecting methods below work just as well for all sorts of cooking sage.
Harvesting Sage Leaves
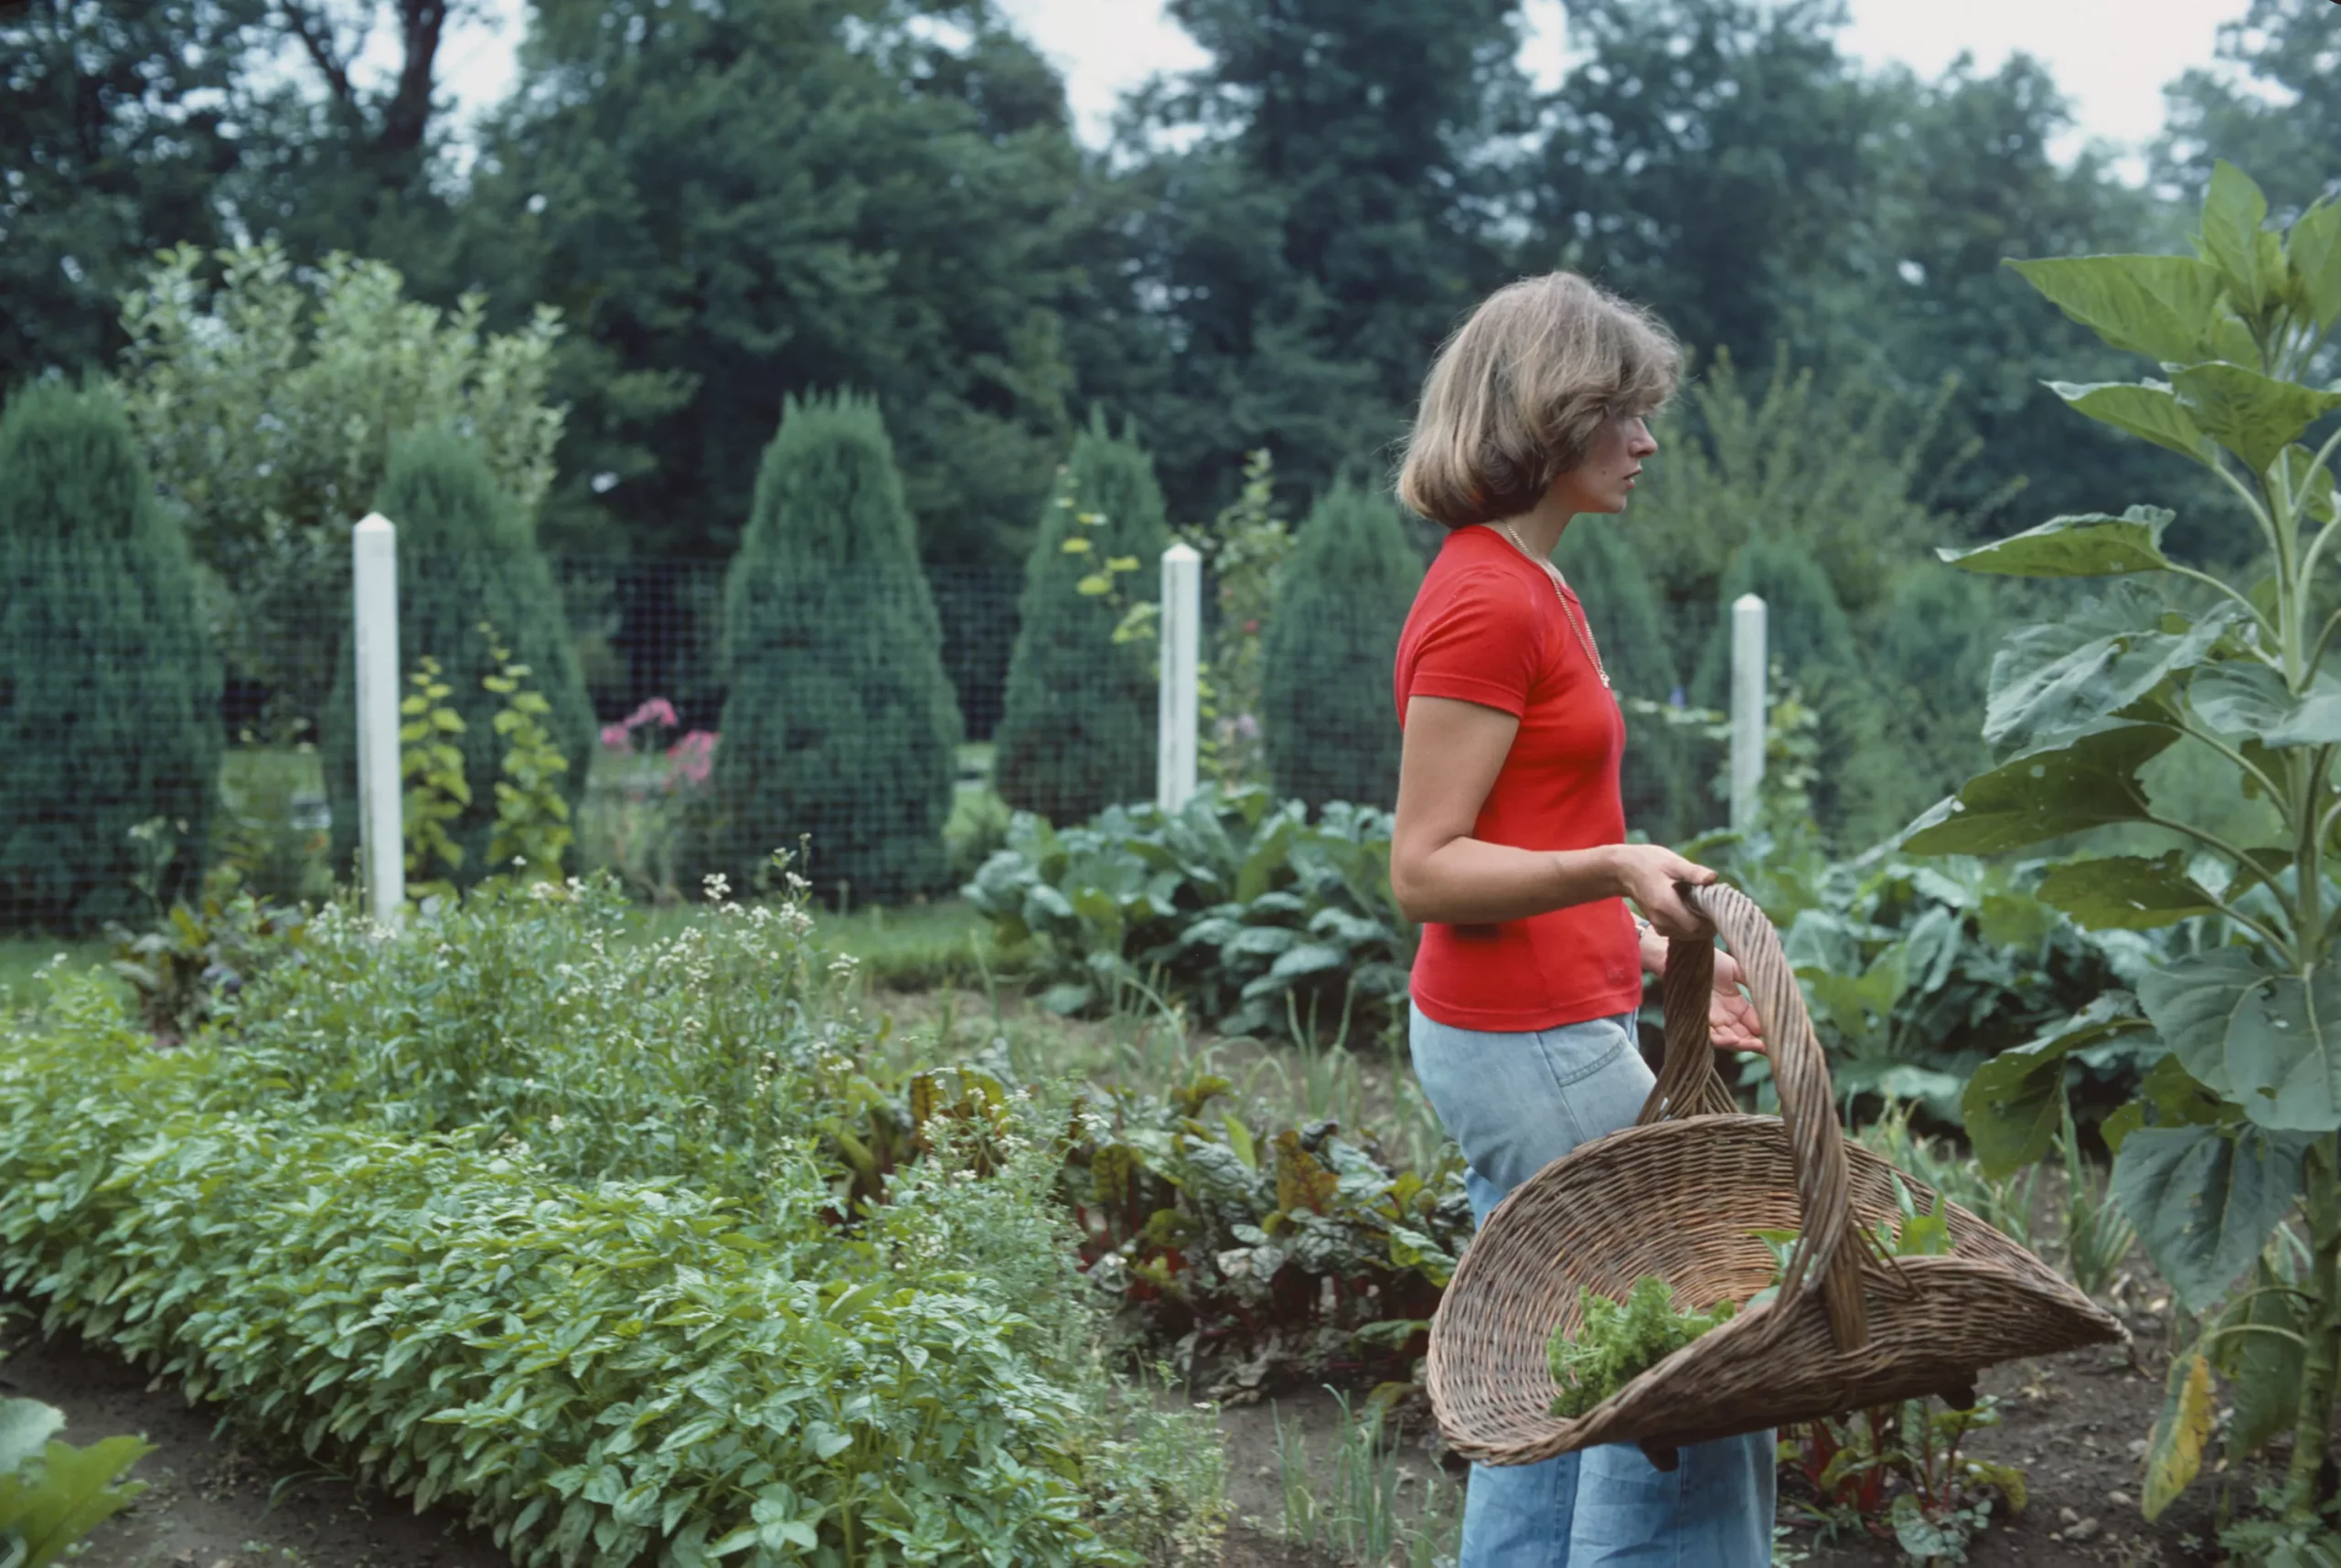
Gathering sage can be as simple as cutting a couple of fallen leaves to cut and toss in a soup. In autumn, bigger harvests can be preserved to bring the taste of the herb yard to dishes all winter season. When collecting sage, usage scissors– or a sharp thumbnail and forefinger– and take one leaf each time. Clipping directly right into a little basket makes gathering larger amounts easy. When harvesting a whole stem, cut it off just over a node.
Young leaves can be left on the stem, even when used in the cooking area. Nevertheless, older leaves gain from removing the stem, which can start to obtain difficult. Harvest just a third or less of the plant at once to maintain sage healthy. The exception is if you’re doing the last harvest of fall (cutting the plant back for winter season) or intend on changing the plant as a result of age.
Timing the Harvest
Because you’re gathering only the leaves, not a fruit like an apple or a tomato, there is no particular window when sage is ready or ripe. The moment to harvest is when the fallen leaves are full-sized and healthy and balanced. Young plants need to be allowed to grow a bit before gathering. Older plants can and must be gathered regularly to maintain them creating new, soft, healthy and balanced greenery.
Like many natural herbs, sage is ideal harvested in the morning after the dew has dried out for peak taste. The oils that provide sage its remarkable fragrance and taste are at their greatest in the late morning.
Sage can be collected whenever there suffice leaves on the plant. Fresh new development is the tastiest and most fragrant, and frequent harvests keep the plant in vegetative setting and hold-up or protect against flowering. While the blossoms of culinary sage kinds are wonderful, they can soften or thin down the flavor of the leaves. If you make use of sage often, which you might after experiencing fresh garden-grown herbs, maintain two or 3 sage plants in a container and turn your harvests.
Maintaining Harvested Sage
While a couple of fallen leaves nipped right here and there are simple to utilize, larger fall harvests or abundant summer cuttings from lots of plants can be protected for later use. Not only is this set of the best-smelling tasks you have actually ever before done, it’s simple. While sage is generally dried, it can likewise be iced up. Whichever technique you pick, keep the natural herbs in an airtight container out of the light for the very best taste and longest life.
Drying out Sage
Drying out sage is very easy regardless of which method you choose. Sage is properly dried when the fallen leaves are weak and easy to crumble. A couple of methods to obtain you started consist of:
Utilizing a food dehydrator: Lay the sage leaves on the dehydrator tray, and it does the remainder. They’re generally completely dry in 8-12 hours.
Hang-drying: This technique adds to the style. Collect the sage with the stems still connected, like cut flowers. Connect them in tiny packages (large packages do not dry well) with a piece of twine and hang them upside-down with a string in a completely dry, dark, ventilated place. They’ll be completely dry in a week to 10 days.
In the oven: Lay the herbs flat in a single layer on a wire rack or a cookie sheet lined with parchment paper, and set the oven to 180 ℉. If it has a fan, transform that on too. It takes around 2-4 hours.
Don’t hang natural herbs to dry near your oven. The rising grease-laden air will coat the natural herbs, developing a sticky mess.
Freezing Sage
Fresh natural herbs– consisting of sage– can be frozen. It’s extremely basic and returns impressive outcomes. Rinse the natural herbs and pat them completely dry. Lay them in a thin layer on a cooking sheet lined with parchment paper (so they do not freeze to the tray) and pop them in the freezer for an hour. Pull them out, placed them in a closed bag, and capture all the air out carefully with a moving pin. You’ll have a level, easy-to-store bag of sage all set for later use. It maintains well in the fridge freezer for a couple of months.